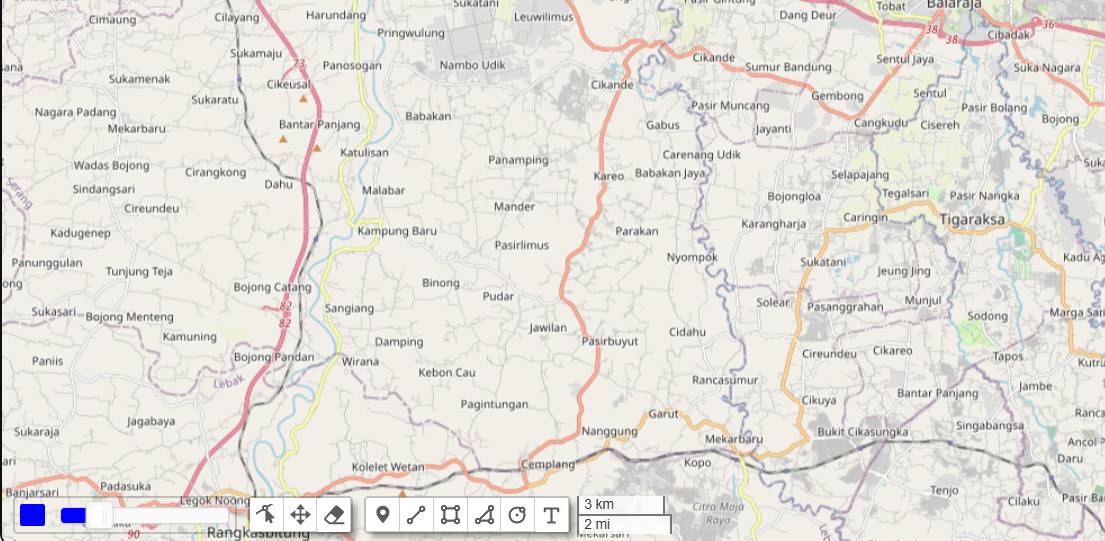
6. Adding Color Palette and Opacity Slider to Map

In this tutorial, we’ll enhance your Leaflet map on the geospatial dashboard by adding two interactive features: a color palette for selecting colors and an opacity slider for adjusting transparency. These features allow users to dynamically customize the appearance of map layers in real-time, improving the interactivity and flexibility of your map.
Prerequisites
Before you begin, ensure you have:
- A Leaflet map set up
- Basic React.js setup
nouisliderandleafletinstalled
If nouislider is not installed, you can add it using npm:
npm install nouislider
1. Setting Up the Color Picker and Opacity Slider
We will create a custom Leaflet control that integrates both a color picker and an opacity slider. Here’s the code to define this control:
import L from 'leaflet';

import noUiSlider from 'nouislider';

import 'nouislider/dist/nouislider.css';

export const ColorPickerControl = L.Control.extend({

    slider: null,

    onAdd: function(map) {

        // Create container element for color picker and slider

        var container = L.DomUtil.create('div', 'leaflet-bar leaflet-control');

        container.style.display = 'flex'; // Set display to flex for layout
        // Create color picker input element

        var colorPicker = document.createElement('input');

        colorPicker.type = 'color';

        colorPicker.id = 'color-picker'; // ID for styling or event handling

        colorPicker.title = 'Choose Color';

        colorPicker.value = '#0000ff';
        // Create opacity slider container

        var opacitySliderContainer = document.createElement('div');

        opacitySliderContainer.id = 'opacity-pick';

        opacitySliderContainer.title = 'Choose Opacity';

        opacitySliderContainer.style.marginLeft = '10px'; // Margin to separate from color picker

        opacitySliderContainer.style.width = '150px';

        opacitySliderContainer.style.height = '15px';

        opacitySliderContainer.style.marginTop = '8px';

        opacitySliderContainer.style.marginRight = '5px';
        // Append color picker and opacity slider container to container

        container.appendChild(colorPicker);

        container.appendChild(opacitySliderContainer);

        // Initialize noUiSlider

        this.slider = noUiSlider.create(opacitySliderContainer, {

            start: 0.2, // Initial value

            range: {

                'min': 0,

                'max': 1

            },

            step: 0.1, // Step size

            connect: [true, false], // Connect the slider handle

        });
        // Set CSS rules for slider handle

        this.slider.on('update', function() {

            var handle = opacitySliderContainer.querySelector('.noUi-handle');

            if (handle) {

                handle.style.width = '25px';

                handle.style.height = '25px';

            }

        });

        // Function to update thumb color

        function updateThumbColor(color) {

            // Set the background color of the slider handle

            const handle = opacitySliderContainer.querySelector('.noUi-connect');

            if (handle) {

                handle.style.backgroundColor = color || '#0040FF';

                handle.style.setProperty('background-color', color || '#0040FF', 'important');

            }

        }
        // Add event listener to color picker

        colorPicker.addEventListener('input', function() {

            var color = colorPicker.value;

            updateThumbColor(color);

        });
        // Function to update opacity value

        function updateOpacity(value) {

            var opacitySlider = document.getElementById('opacity-pick');

            if (opacitySlider) {

                // Change slider color based on opacity value

                opacitySlider.style.backgroundColor = 'rgba(0, 0, 0, ' + value + ')';

            }

        }
        // Add event listener to slider

        this.slider.on('update', function(values) {

            var opacity = parseFloat(values[0]);

            updateOpacity(opacity);

        });

        return container;

    },
    getSliderValue: function() {

        if (this.slider) {

            return parseFloat(this.slider.get());

        }

        return null;

    },

    onRemove: function(map) {

    }

});
2. Integrating the Control into Your Leaflet Map
Once we’ve created the custom control, the next step is to integrate it into your Leaflet map in your React.js application. Here’s an example of how to do that:
import React, { useEffect } from 'react';

import L from 'leaflet';

import { ColorPickerControl } from './ColorPickerControl'; // Adjust path as needed

const MapComponent = () => {

    useEffect(() => {

        // Initialize the Leaflet map

        const map = L.map('map').setView([51.505, -0.09], 13);
        // Add your base layers here (e.g., OpenStreetMap)

        L.tileLayer('https://{s}.tile.openstreetmap.org/{z}/{x}/{y}.png').addTo(map);

        // Add the custom color picker and opacity slider control

        L.control.colorPicker().addTo(map);
    }, []);
    return <div id="map" style={{ height: '500px', width: '100%' }}></div>;

};

export default MapComponent;
3. Code Explanation
Color Picker
- HTML Input Element: We use the
<input type="color">element to allow users to select a color. - Event Listener: Updates the slider’s handle color when a new color is chosen.
Opacity Slider
- noUiSlider: We use this library to create a slider that controls opacity.
- CSS Customization: We style the slider handle and the slider background based on the opacity value.
4. Documentation and References
- Leaflet Documentation: Official documentation for the Leaflet library.
- noUiSlider Documentation: Documentation for the noUiSlider library used for creating sliders.
- Color Picker Documentation: Reference for the HTML color input element.
